· Select preset Trips.
· Sorting can be done by clicking on the column
heading.
· Select a trip file.
· The
trip is displayed in the Trip Info tab, and on the OSM map. The
trip is shown in the color specified in Advanced/Settings.
Default: Magenta.
· In the green bar, the file name, trip
name and departure date are shown. (If the color
is aqua the trip was not loaded from the device)
· Use
the Treeview to select a data-item.
· The
grid and the Hex editor are synced with the selected
item
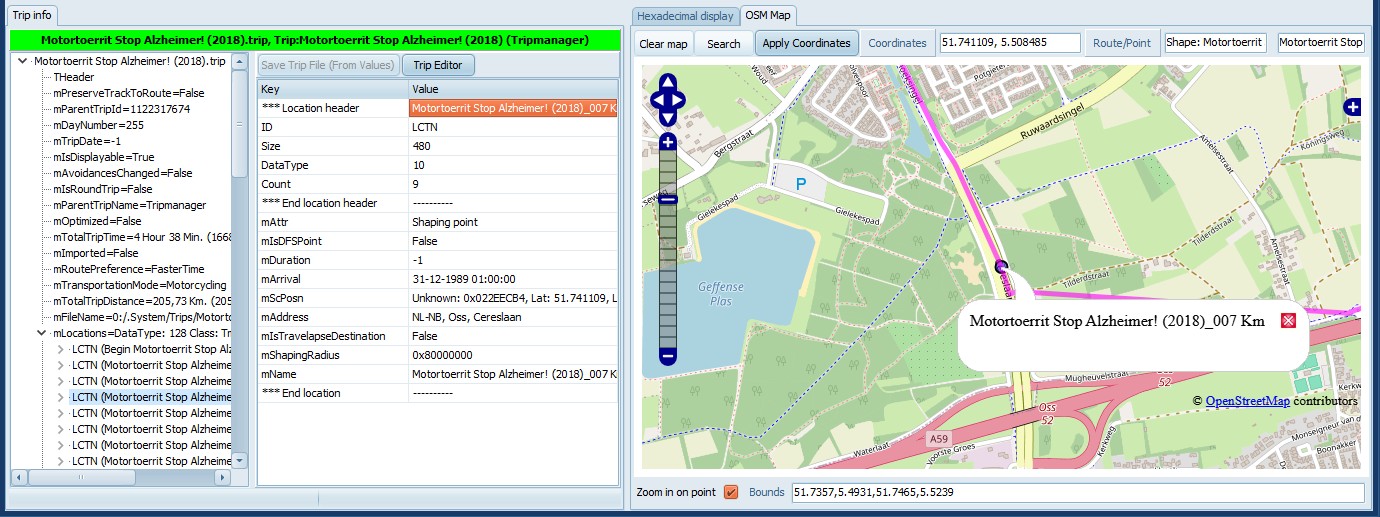
· Expand the node ‘mLocations’. This contains all the
Via/Shaping points.
· Selecting a LCTN will show a popup on the
map.
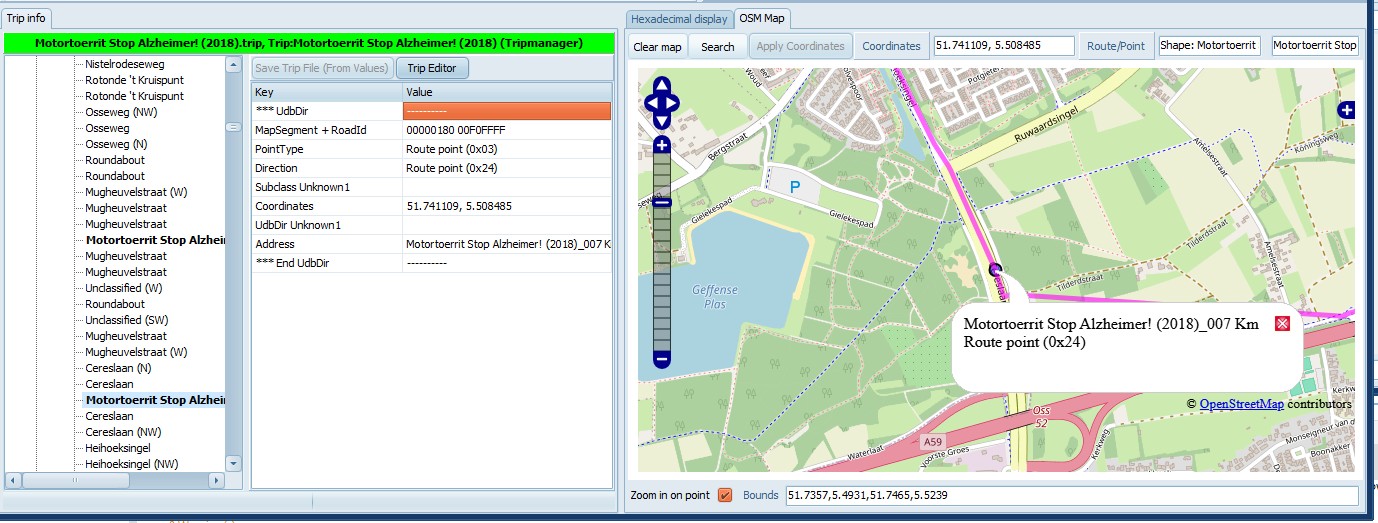
· Expand the node mAllRoutes. This contains the
result of the route calculation by the Zumo.
· Selecting an node within mUdbDataHndle shows points
on the route. Bold items are Via/Shaping points, or
turns.
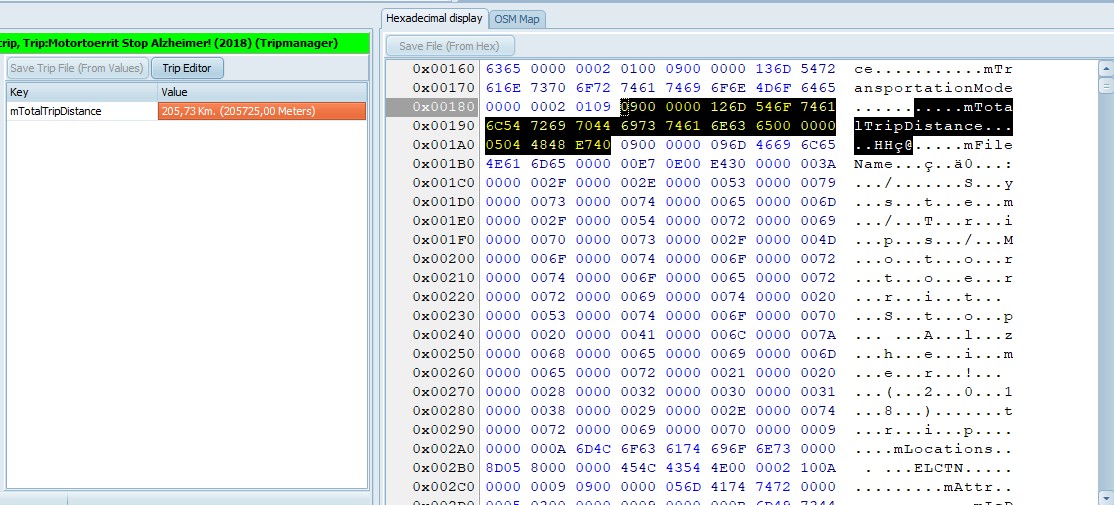
· The Hexadecimal display is meant to help in
decoding the trip file format. It is possible to make
modifications, and save the file using the button Save File
(from Hex). This is considered an expert option. The trip will
not be forced to recalculate.
Tips:
· To copy the selection as HEX Bytes to the clipboard use
CTRL/C.
· To copy the selection as characters to the clipboard use
CTRL+SHIFT/C.
· To undo modifications use CTRL/Z.
· To redo the last modification use CTRL/Y.
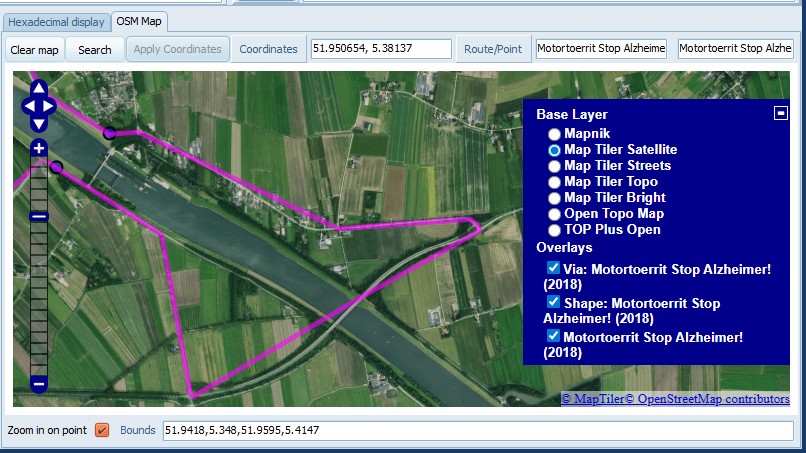
Functions of the map
· Zooming can be done with the mouse wheel, or the control
on the left.
· Panning can be done holding the left mouse button, or the
control on the left.
· The + on the right shows a legend, and allows
switching to another Base layer.
· Clear map. Clears the map, including loaded GPX
files.
· Search. Opens a dialog where you can search for
places. Geocoding must be enabled. See 11 Using
GeoCode
· Apply Coordinates. Enabled when a ‘mScPosn’ is
selected, or the Trip Editor is active. The currently selected
GPS coordinates are stored in the trip. Effectively changing
the location of the Via/Shaping point.
· The coordinates are updated as the map is (re)positioned.
You can overtype, or paste, them and press Enter to reposition
the map.
· Use Ctrl + Left Click to precisely select a point on the
map.
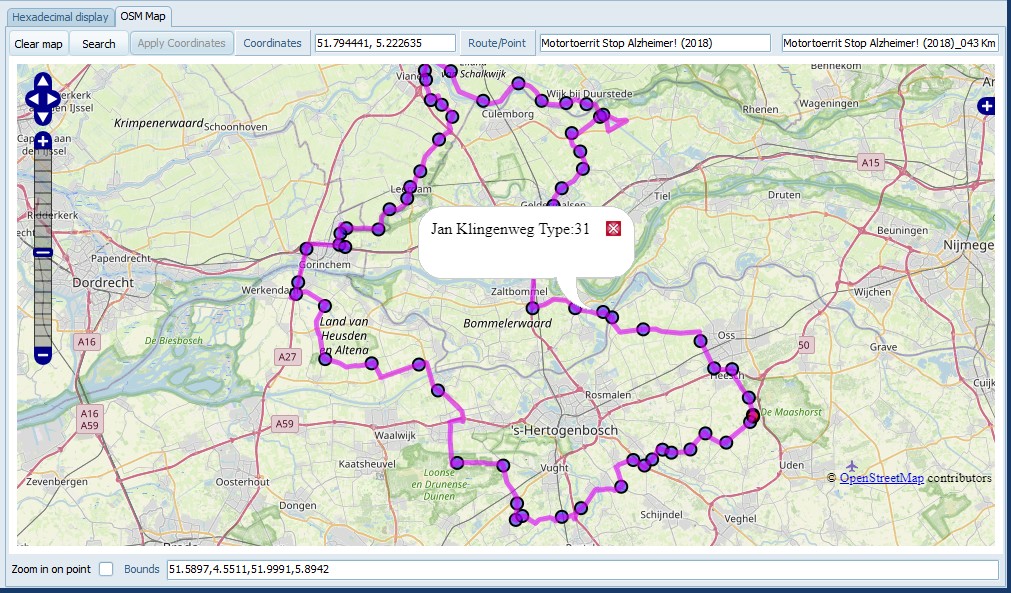
· When the mouse is hovered above a line, or Via/Shaping
point of a route, that route-name is displayed in the
Route/Point.
· If ‘Zoom in on point’ is checked the map will zoom in
when a point is selected. If not checked the map will
reposition to make the point visible, but will retain the zoom
level.
|
|
You can switch to a different Base
layer using the small + at the right. A sub menu will
open where you can select the Base layer.
The ‘Map Tiler’ options are only
available if an Api Key is entered in
Advanced/Settings.
|